
The complete guide
How to Choose and Fit a Channel Drain Kit
The puddle that never quite goes away
Most drainage problems start small. A shallow pool forms by the back door after rain. The corner of the patio stays damp for two days when everywhere else has dried. Green algae creeps across the paving in the shady spot. None of it seems urgent, and then one January morning that damp patch is a sheet of ice, or you notice the skirting board inside the door has gone soft.
Water sitting on a hard surface has to go somewhere. If it can't soak away, it spreads sideways until it finds a low point, and often the low point is a doorway, a wall or a path where you walk every day. A channel drain kit fixes this by giving the water a route out. Instead of a single gully in one spot, you get a continuous slot that collects run-off along its whole length and moves it to a pipe or soakaway.
This guide walks through how these channels work, where they belong, how to pick the right one and what installation actually involves.
How a channel drain works
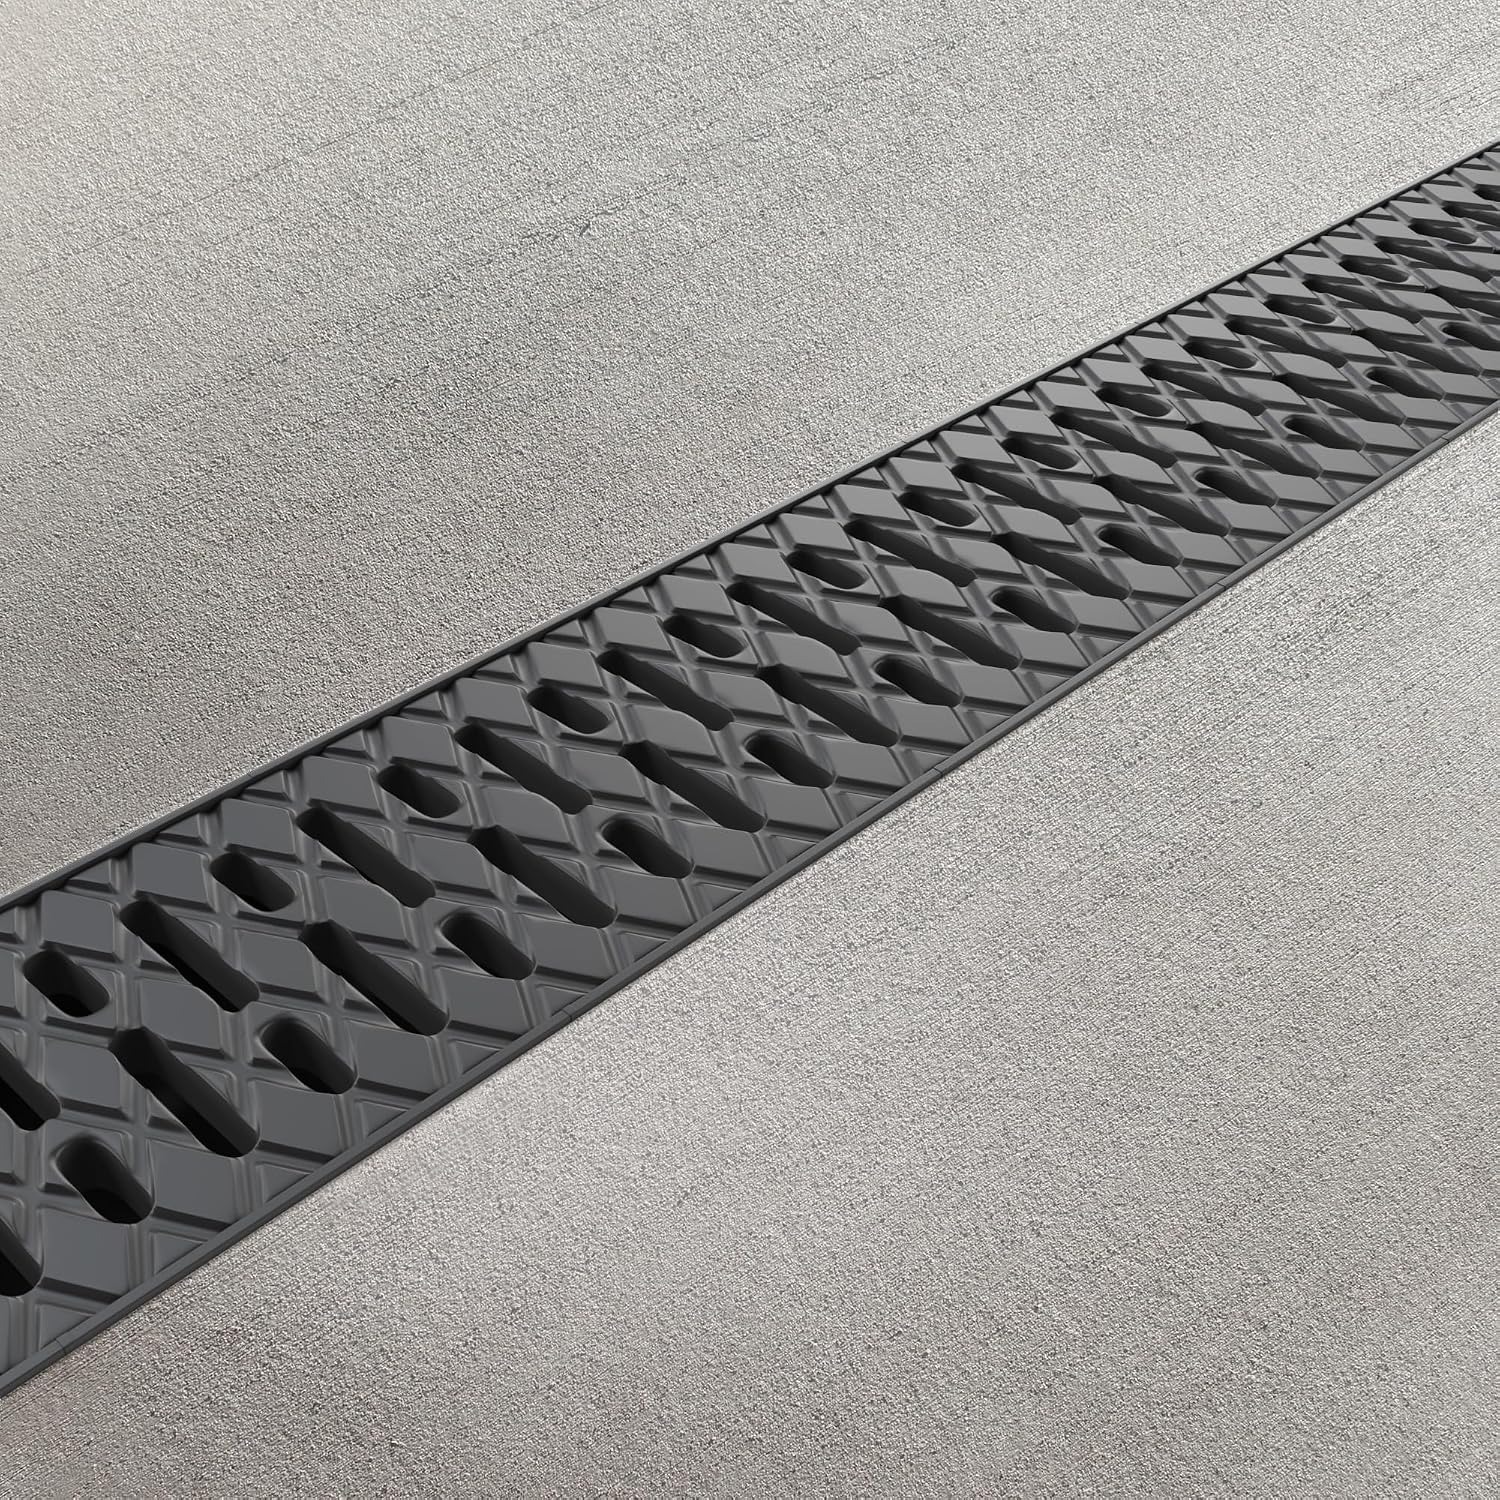
The idea is simple. A long plastic trough sits in the ground with its top edge flush with your paving. A grate covers it so people can walk over safely, and water runs through the grate into the trough below. Inside, the water travels along the channel to an outlet, then into a connected pipe.
The Vodaland EASY 2 channel measures 1000mm long, 125mm wide and 72mm deep, and it's made from 100% recycled polypropylene. That shallow depth matters more than people expect. Deep channels need deep excavation, and near a doorstep or over an existing base you often don't have the room. A 72mm channel gets a lot of drainage capacity into a modest trench.
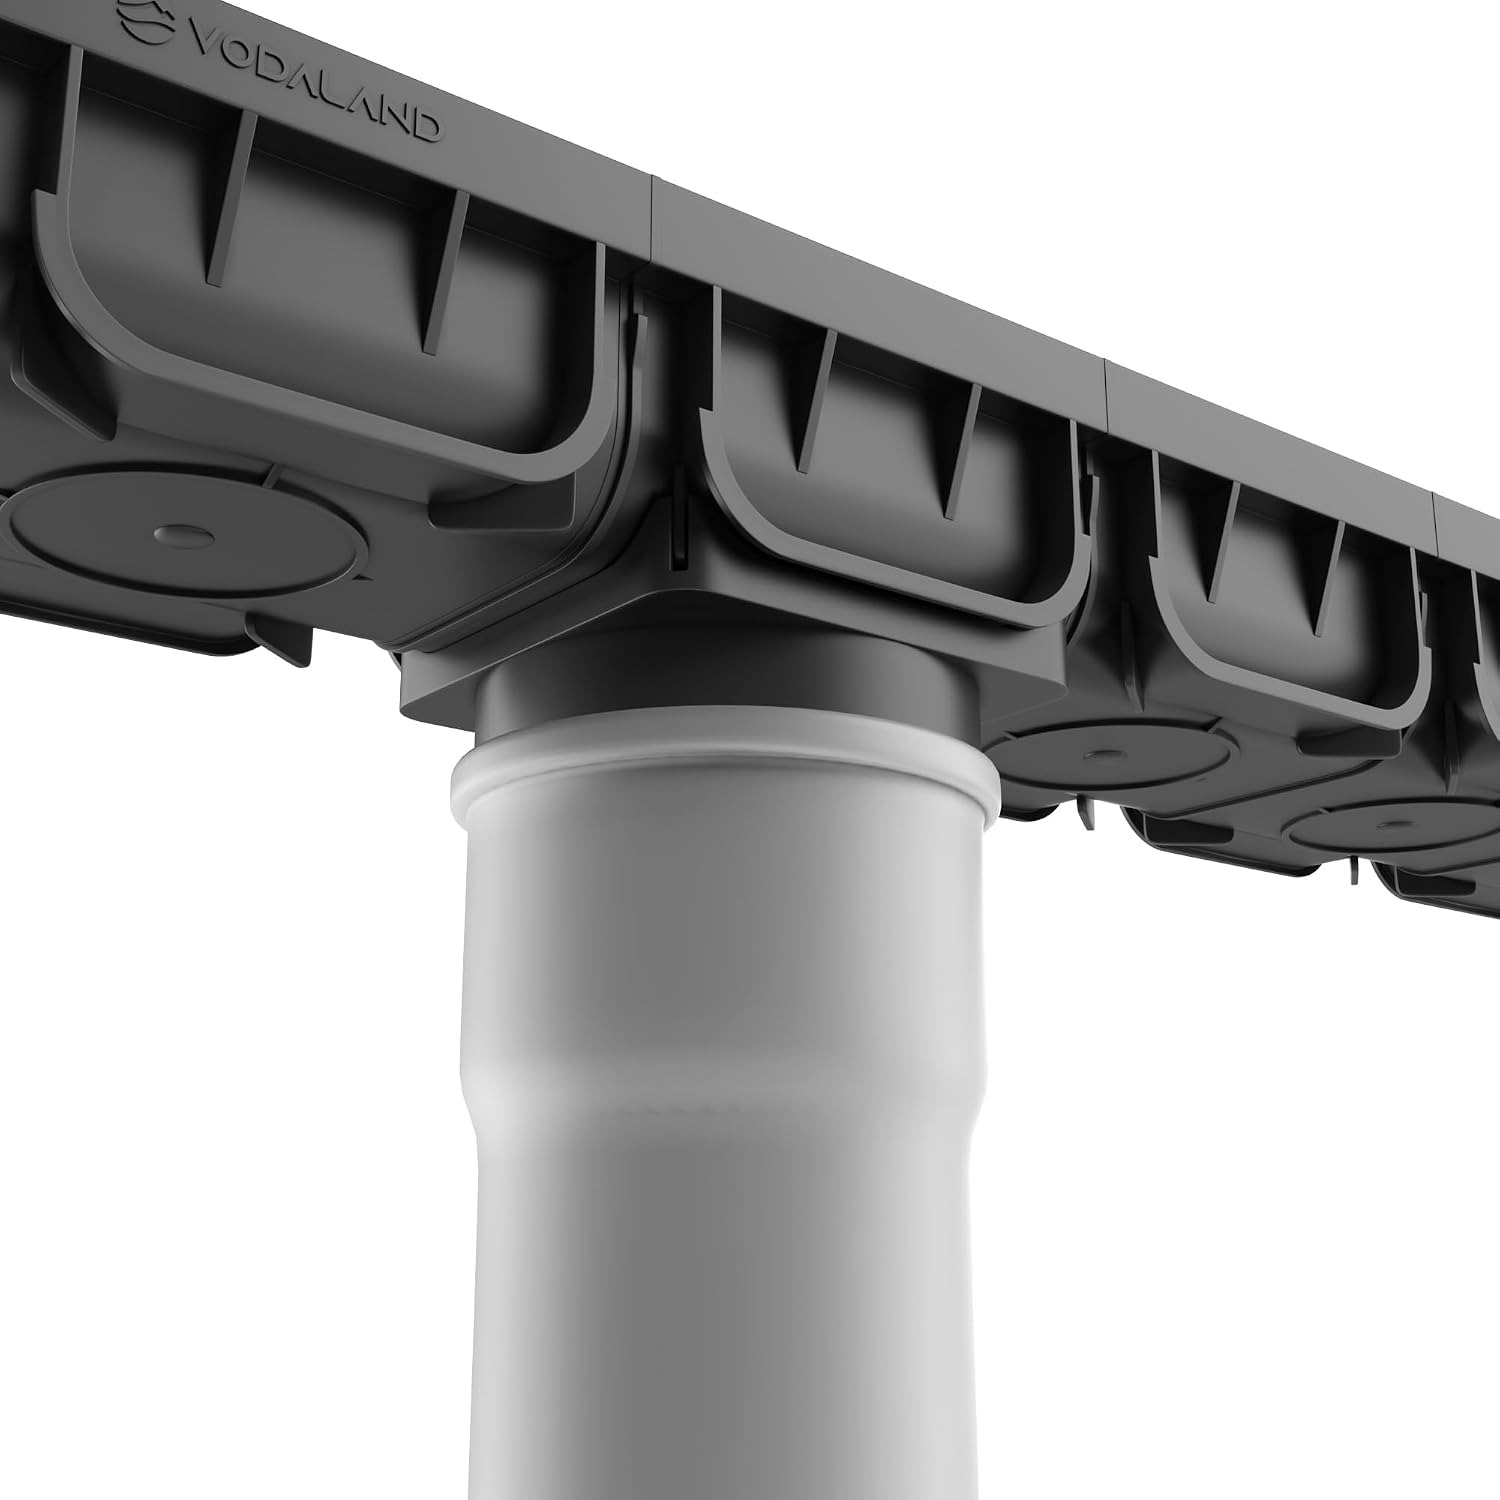
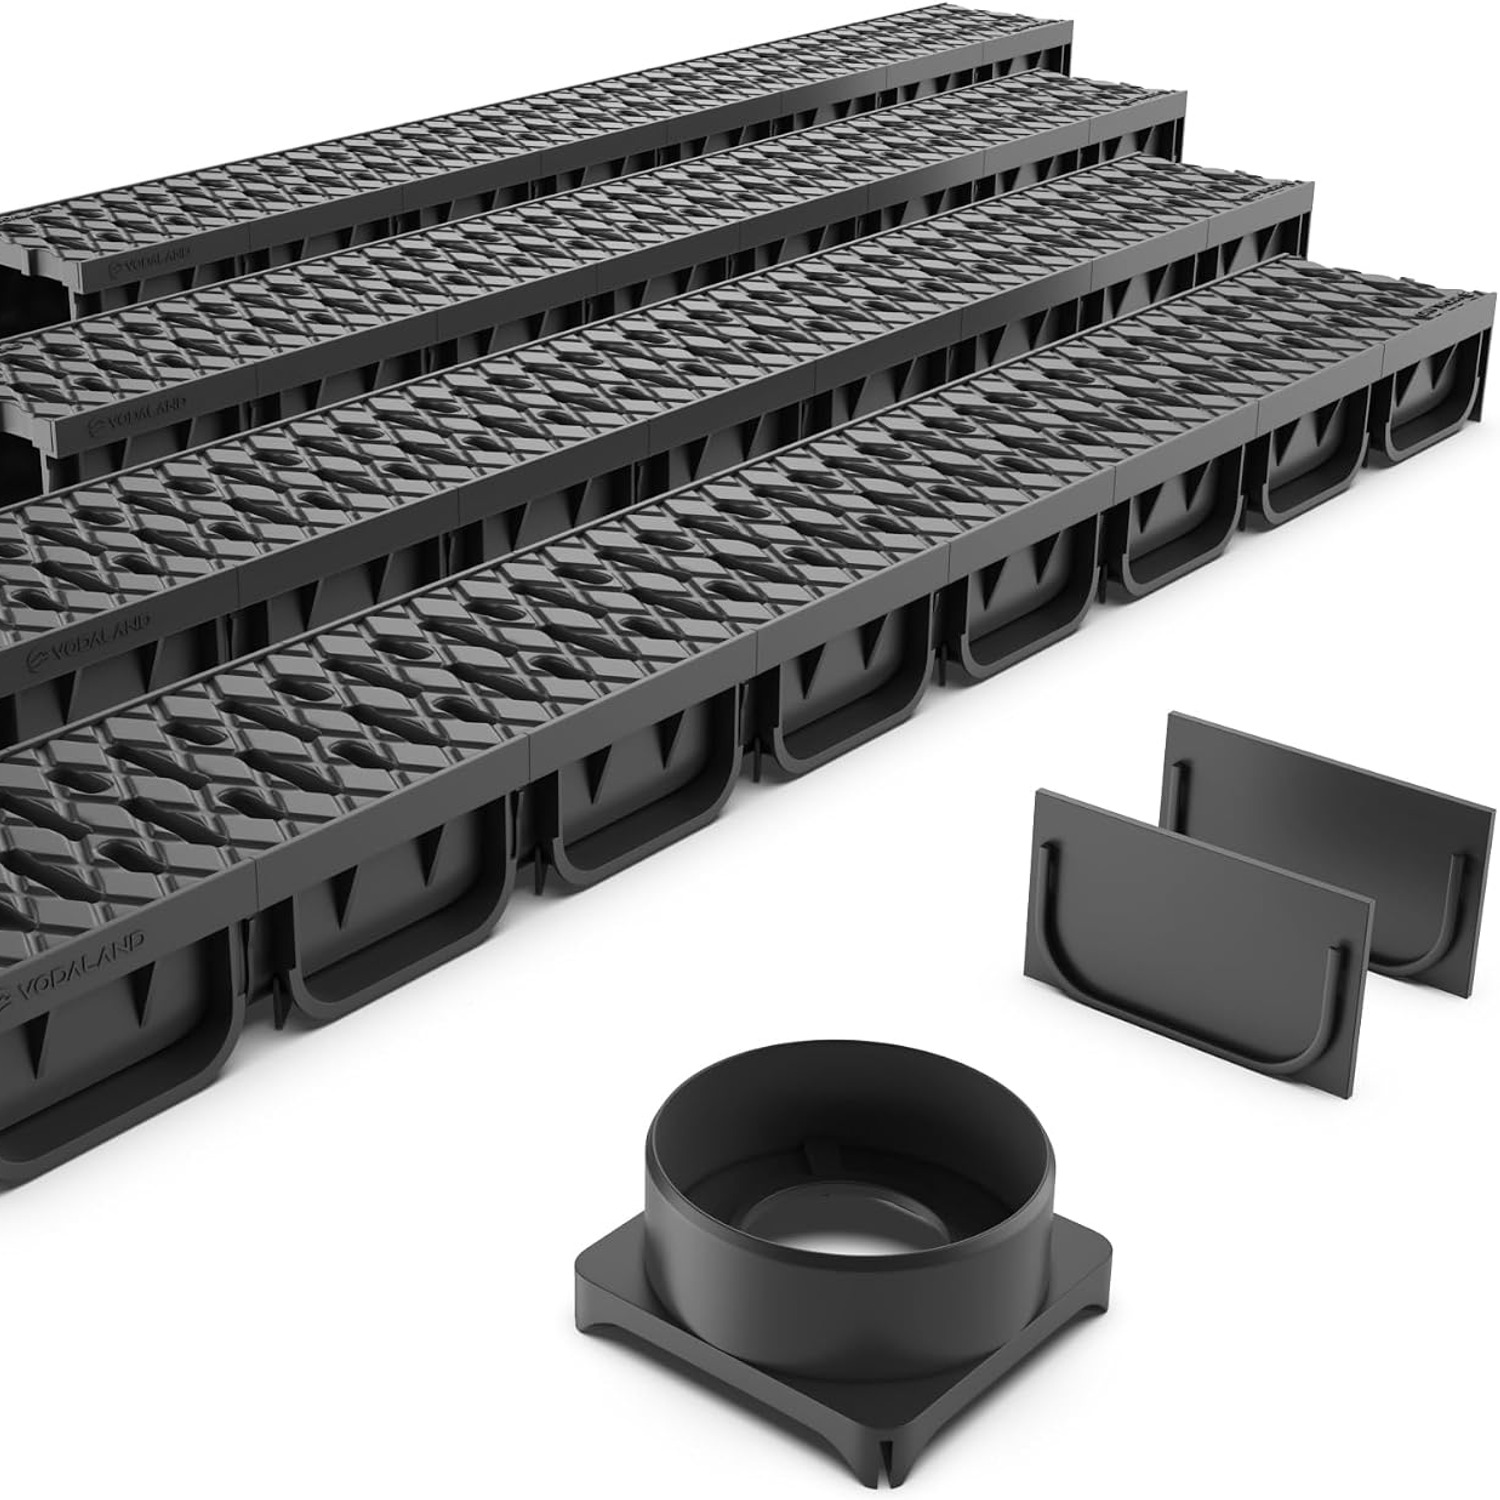
The base of each channel has eight cut-out spaces. You fit the supplied outlet connector at whichever one lines up with your pipe run. That flexibility saves a lot of head-scratching when the existing drainage sits awkwardly relative to where you want the drain.
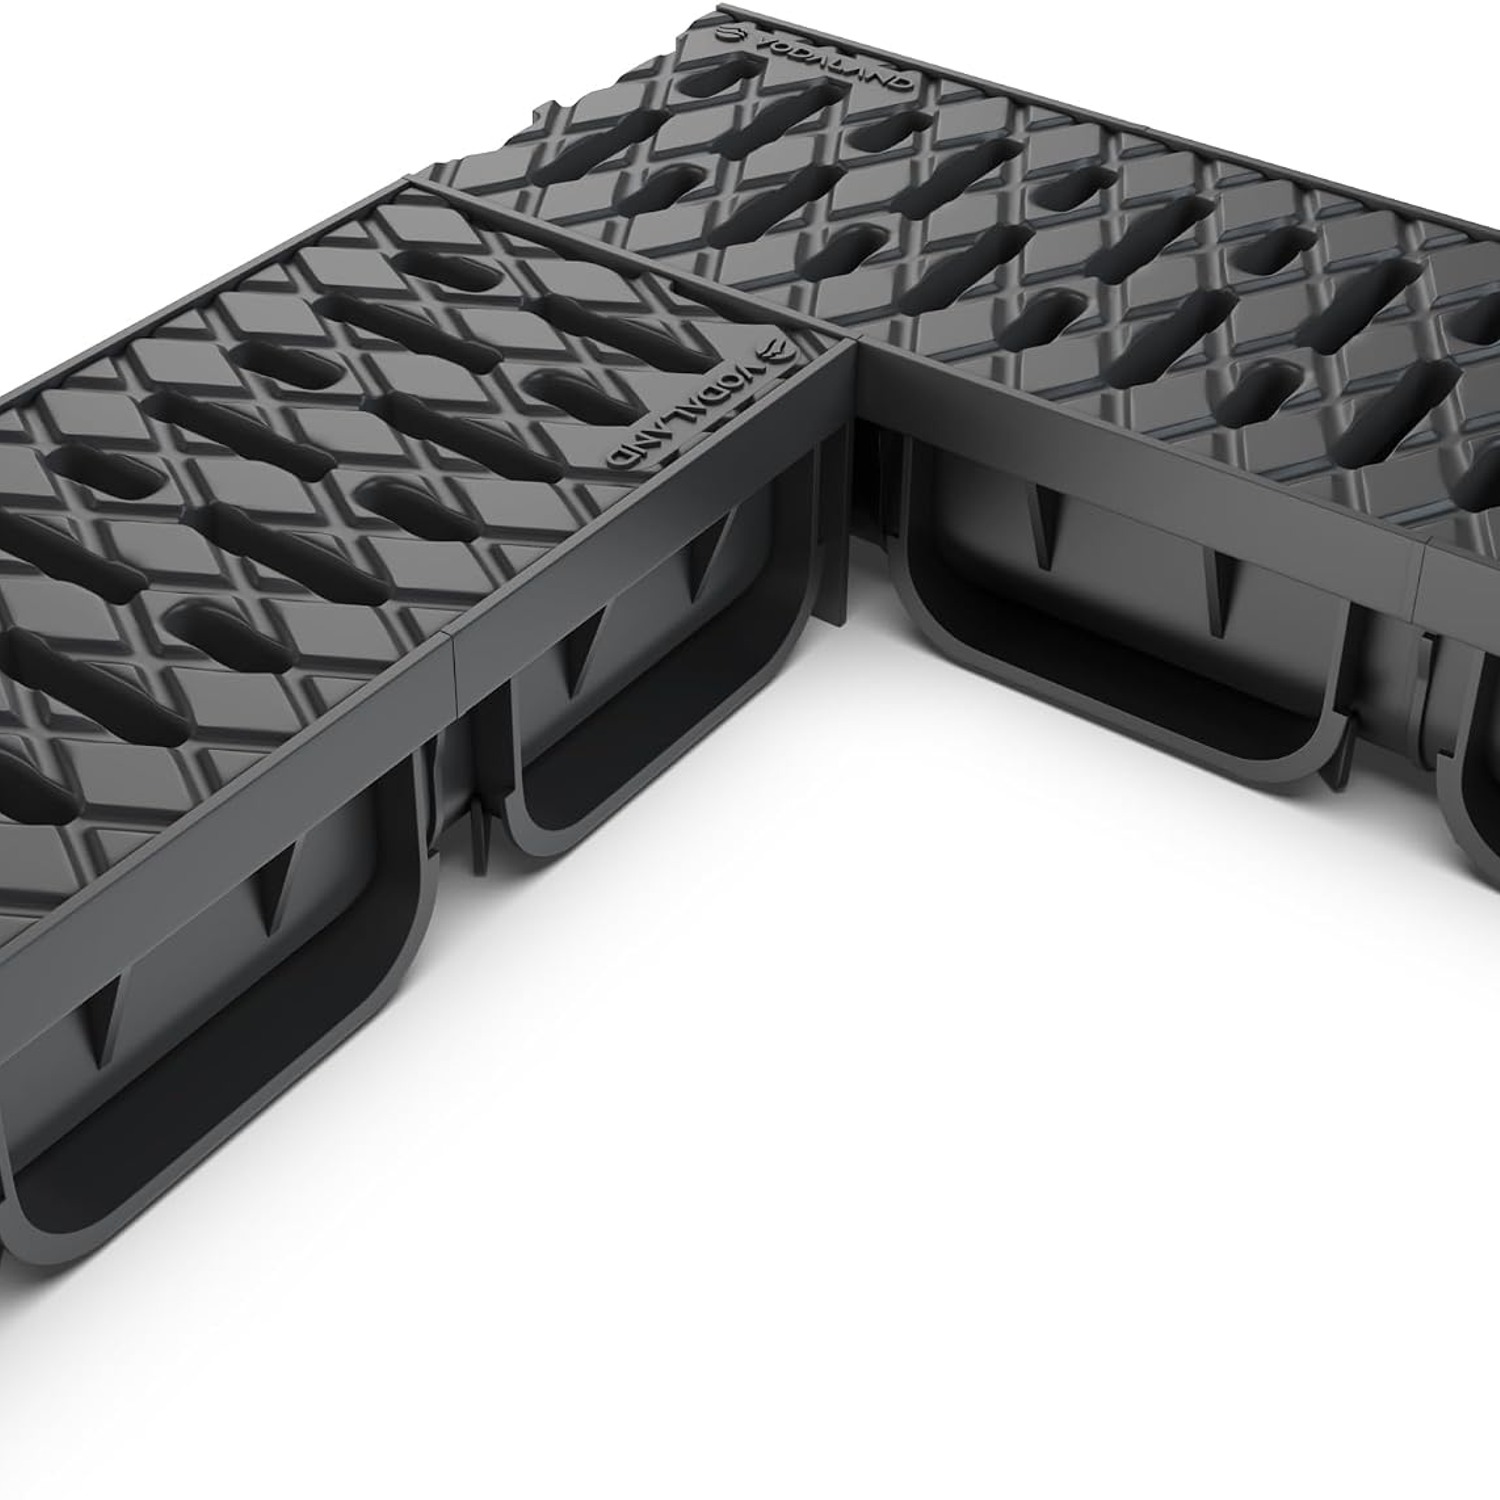
Both sides carry 90-degree connections too, so if the drain needs to turn a corner, you set two channels at a right angle and join them directly. There's no corner unit to source or adapter to buy. For a patio that wraps around a corner of the house, that alone can save you an extra trip to the merchant.
Who this suits, and who it doesn't
This is a pedestrian channel. Vodaland is clear that these units shouldn't be driven over. That's the single most important thing to get right before ordering.
It works well for:
- Patios, especially along the low edge where water collects
- Thresholds at back doors, side doors, sheds and workshops
- Garden paths and the base of steps
- The strip between a paved area and a lawn or border
It isn't the right product where a car, van, trailer or ride-on mower crosses the line of the drain. If your run passes in front of a garage door that vehicles use, or across a driveway entrance, you need a load-rated channel with a stronger grate. Fitting a pedestrian channel in a trafficked spot will crack the grate, and probably the channel with it.
People searching for the best driveway channel drain usually mean one of two things: a drain across a driveway itself, or a drain along the footpath edge beside it. This kit handles the second, not the first.
Working out how many you need
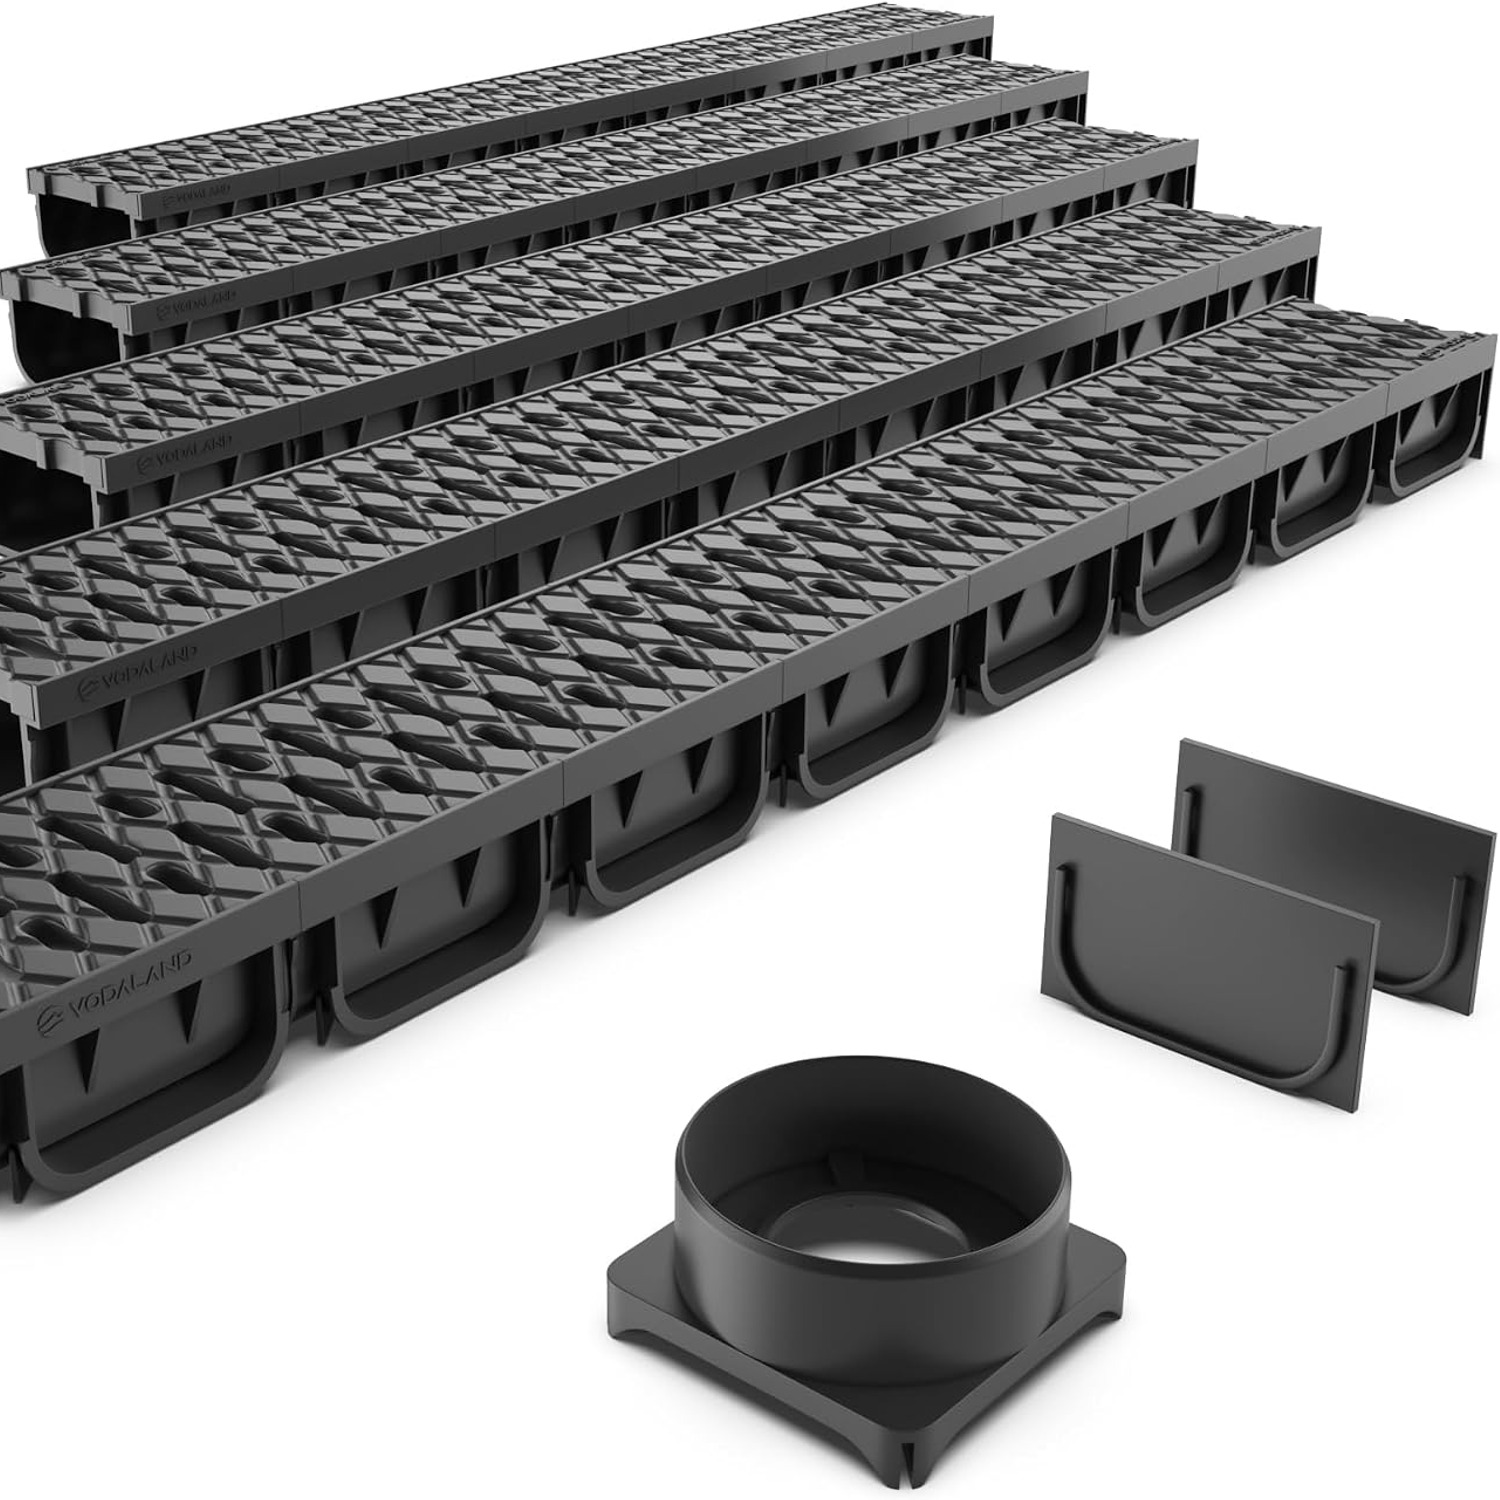
Each kit gives you one metre of channel plus a grate, two end caps and one outlet connector. Measure the length you want to drain, round up to the next whole metre, and add one if you're turning a corner.
Think about where the water is arriving from rather than where it ends up. A channel across the full width of a slope catches everything. A one-metre stub in the middle of a wide patio only catches what happens to run past it. It's common to underestimate here, so measure the wet area on a rainy day if you can, and note where the water actually flows.
Also think about where the water is going. A channel is only half the job. You need somewhere for the water to discharge, whether that's an existing surface water drain, a soakaway or a suitable outfall. If you aren't sure what your property has, check local rules before connecting anything.
Installing it properly
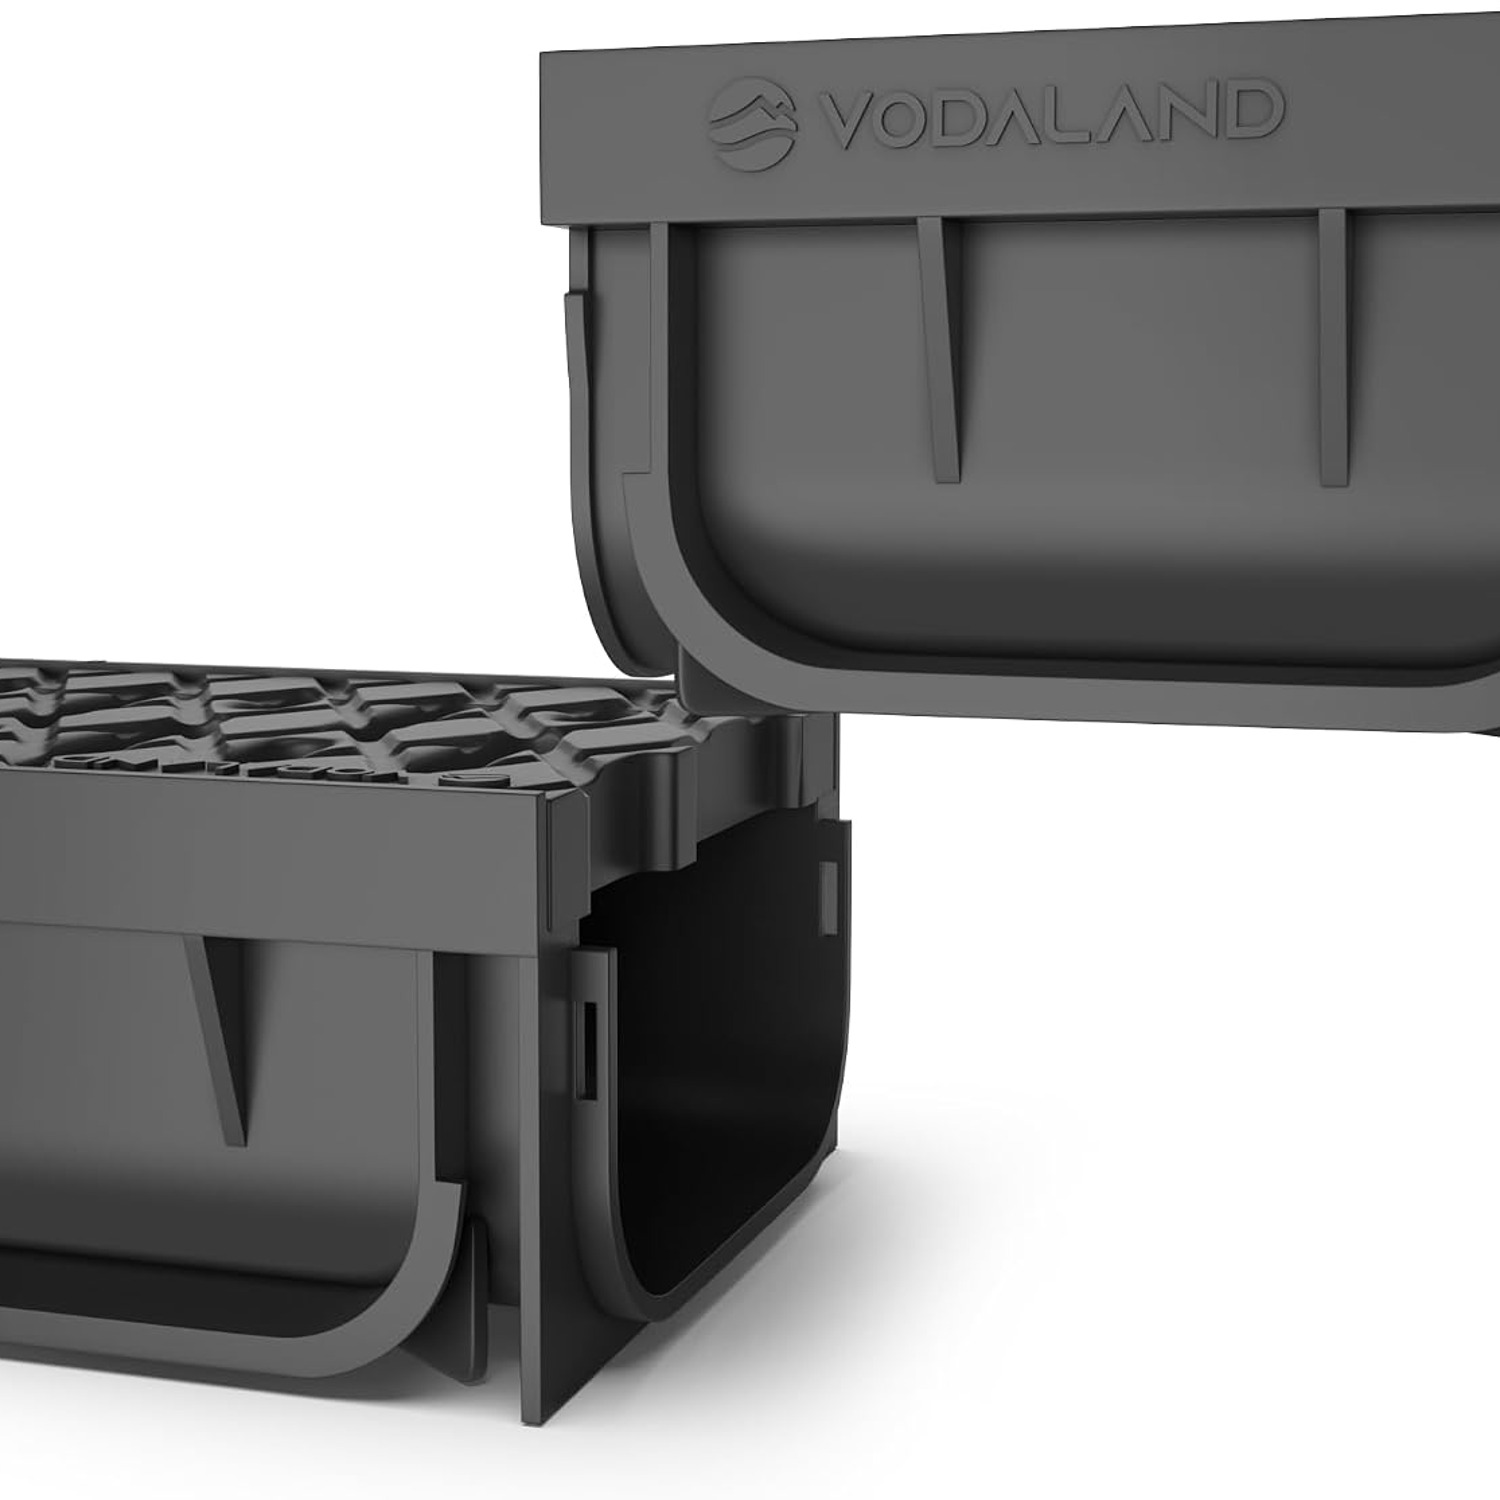
The clip connections make the assembly part easy. Channels slide together and snap, and they stay in line while you work. The grate clicks into the channel and lifts out again when you want it out. That's the straightforward half.
The half that decides whether the drain still works in five years is the groundwork.
Dig a trench deeper and wider than the channel, allowing room for a concrete bed underneath and concrete haunching up both sides. Set a string line so you can keep the run straight and check levels as you go. Bed the first channel on wet concrete, then check with a spirit level and straight edge that the grate top sits a few millimetres below the finished paving. Slightly low is right. Slightly proud is a trip hazard and the water will run straight over it.
Add a small fall towards the outlet if your ground allows. Water moves better and silt settles less. On a dead flat surface, put the outlet at the natural low point instead.
Fit the outlet connector at the cut-out that lines up with your pipe, connect the pipe, then fit the end caps at each end of the run. Once you're happy with position and level, haunch concrete up the sides of the channel. Vodaland highly recommends encasing the channel in concrete, and this is the step people skip when they're tired. Don't skip it. Unsupported plastic sides flex under a paving joint, and an unsupported run drifts as the ground moves.
Let the concrete cure before laying the surrounding paving up to the channel edge, and keep the grate in place while you work so nothing drops down the trench.
Keeping it clear
Maintenance takes minutes. Lift the grate out, pull out leaves and grit, and hose or brush the channel through. Check the outlet isn't blocked, then clip the grate back down firmly.
Twice a year suits most homes. Under trees, do it again after autumn leaf fall, because a mat of wet leaves over the grate stops water entering at all. If you notice water backing up in heavy rain, the cause is nearly always silt in the channel or a blockage at the outlet rather than a fault with the drain.
Use plain water and a soft brush. Harsh solvents aren't needed on polypropylene and do it no favours. Grit sitting in the grate clips is the usual reason a grate doesn't seat properly, so clean those recesses out when you refit it.
The short version
If water pools on your patio, path or doorstep, a channel drain kit is the practical answer. This one gives you a metre of 1000 x 125 x 72mm recycled polypropylene channel with a removable grate, two end caps and an outlet connector. Channels clip together in line and join at 90 degrees for corners with no adapters, and eight base cut-outs mean the pipe can leave where it suits you.
Keep it out of the way of vehicles, set it in concrete, get the grate a whisker below the paving, and clean it out twice a year. Do that and it'll quietly do its job every time it rains.